Introduction: Understanding the Importance of Gas Line Pressure Testing
Gas line pressure testing is a crucial step in ensuring the safety and functionality of gas systems in both residential and commercial properties. Whether you’re a homeowner, a professional plumber, or a building contractor, understanding how to test gas line pressure is essential for maintaining the integrity of the gas supply and preventing potential hazards.
Why Test Gas Line Pressure?
Before delving into the specifics of how to test gas line pressure, let’s first understand why it’s necessary. Gas line pressure testing helps identify leaks, blockages, or other issues within the gas piping system. By ensuring that the gas lines are properly pressurized and sealed, you can mitigate the risk of gas leaks, which can lead to fire hazards, explosions, or carbon monoxide poisoning.
Step-by-Step Guide to Testing Gas Line Pressure
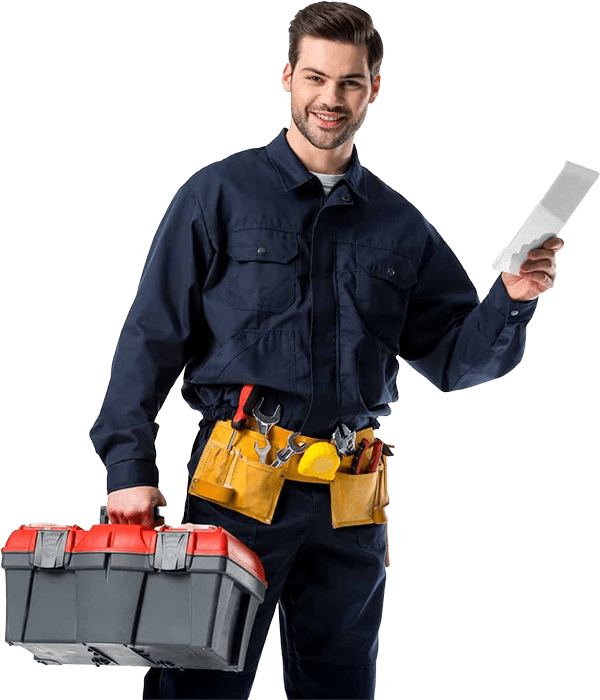
- Gather the Necessary Equipment: Before you begin testing, gather the required tools and equipment, including a pressure gauge, a pressure regulator (if necessary), wrenches, and leak detection solution.
- Shut Off the Gas Supply: Safety should always be the top priority. Before testing the gas line pressure, shut off the main gas supply valve to prevent any gas from entering the system.
- Attach the Pressure Gauge: Next, attach the pressure gauge to the gas line’s test point. This could be a designated valve or a connection point specifically designed for pressure testing.
- Pressurize the System: Slowly open the gas supply valve to allow gas to flow into the system. Use a pressure regulator if the pressure needs to be adjusted to meet specific requirements.
- Monitor the Pressure: Once the system is pressurized, monitor the pressure gauge to ensure that it remains stable within the desired range. Any sudden drops in pressure could indicate a leak in the system.
- Perform a Leak Test: To check for leaks, apply a leak detection solution to all connections, joints, and fittings in the gas line. If bubbles form, it indicates a leak that needs to be addressed immediately.
- Address Any Issues: If you detect a leak or any other issue during the pressure test, take the necessary steps to address it before retesting the system.
- Document the Results: Keep a record of the pressure test results, including the initial pressure, any adjustments made, and the final pressure reading.
Finally Ensuring Gas Line Safety
Knowing how to test gas line pressure is essential for maintaining the safety and functionality of gas systems. By following the step-by-step guide outlined above, you can identify and address any issues with the gas line promptly, minimizing the risk of potential hazards. Remember, safety always comes first when working with gas systems, so never hesitate to seek professional assistance if needed.